Pages
Apart from blog posts, nearly all of the original content on your website will be created in the form of a page. Pages can be used in more different ways than is practical to describe in one place. Many will be created dynamically as search results while others may be saved as static pages selected from menus or internal links within your site. Some many only contain a short snippet of code, referred to as a sortcode, which displays a group of books or images according to a user-defined formula.
When your website is launched it will already contain a number of pages that provide your visitors with the information about you and your business. You will need to write this information and put it on your site before you go "live." In its final form, this information will be presented on a "page." We will help you with this if you need it, although it is not very difficult and eventually you will probably want to be able to do this yourself without relying on us. If you want to keep your site fresh and up-to-date then you will want to add new content to it on a regular basis. Unless you become an active blogger, nearly all your updating will be done by adding or editing pages.
There are several ways to create a new page.
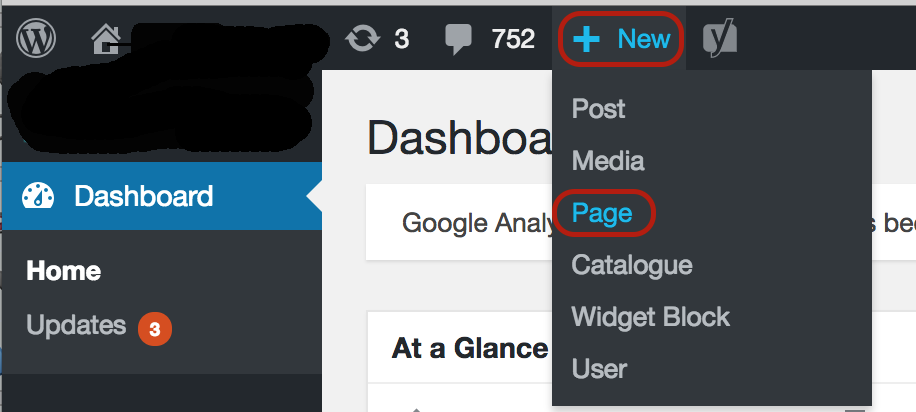
- You can click
Newin the top admin menu bar. This will open a drop down menu with aPageoption. Clicking this will open new page in edit mode.
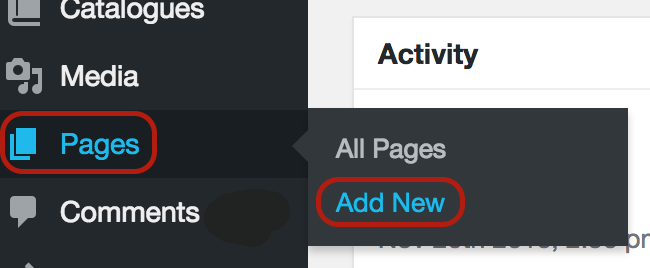
- You can click on
Pagesin the dashboard sidebar and then clickAdd Newin the pop up menu.
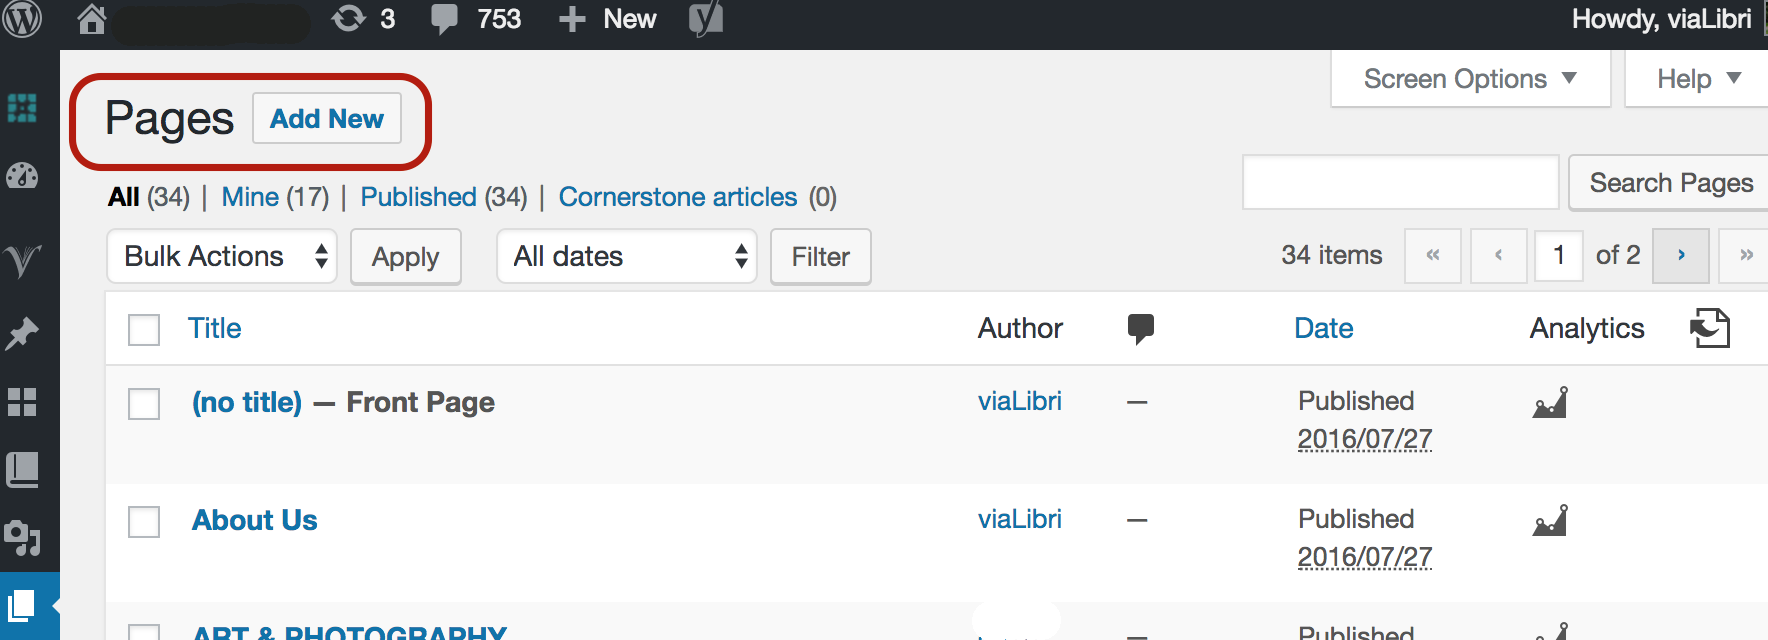
- You can also select
Add Newfrom the upper left corner on the screens that list existing pages, or that show individual pages in edit mode.
A new page will look like this:
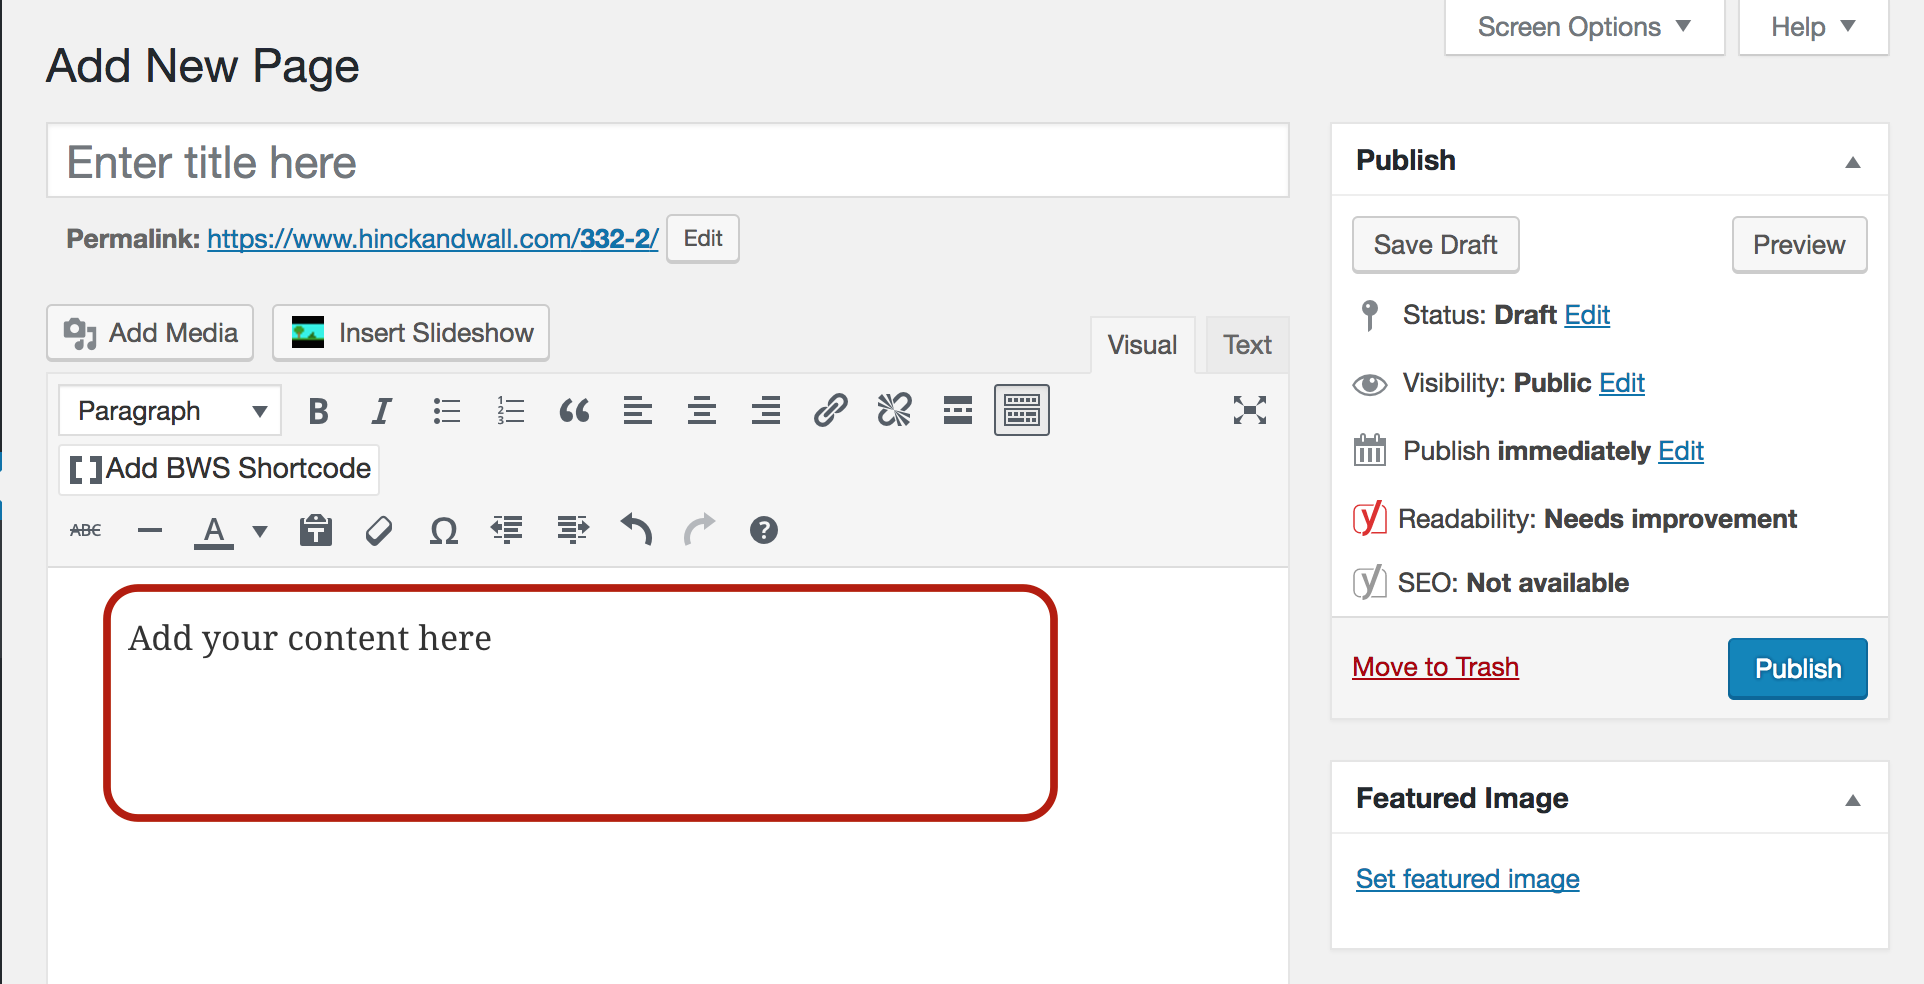
You can add your 'content' into the area that is shown. You will notice a variety of icons which can be used to select and format the text and media for your page. The options here will be similiar to those available on your word processor. You can also toggle between the two thumb tabs labeled "Visual" and "Text." The visual option will give you a basic WYSIWYG (What You See Is What You Get) text editor. Switching to the text option will display your content as HTML mark up.
You should experiment with all these features so that you can maximise the visual appeal of the information you put on your website. It may be helpful to examine some of the existing pages on your website to see how they are created and formatted with HTML.
On the right side of the screen you will see a button labelled Preview. Clicking this will display your page as it is currently formed. This allows you to tweak your draft version until you are completely satisfied with the way it looks. As you create draft version that you are happy with you should click the Save Draft button.
Before you are finished you will need to enter a title for the page you have just created. This can be entered into to the form box labelled "Enter Title Here." When you are finished and ready to go you can click Publish. This will make the page "live". It will not be visible, of course, until there is someway to find it on your site. This can normally be done by adding the page to a menu. The steps for that are described elsewhere. A permalink url is also shown just below the Page title. You can use this to add links to this page from any other source, for example: an email or social media post.
If you want to edit the page later you can find it with the page option on your dashboard. However, if you are actually on the page and are logged in as an Admin then you will find a pencil icon at the bottom of the page. This will open the page to you in edit mode and allow you to quickly make changes or additions